How to lay a deck
How to lay a deck or decking, or more specifically the techniques that are required, is much dependent on whether you are building at ground level, or creating a raised level deck. Raised decks are a much more involved undertaking as you need to build a substantial support framework, but with a ground level deck, the support is effectively already in place, and so it is much more straightforward. Building a ground level deck is shown in the sequence below.
The principles demonstrated here will be similar with all decks, but always follow any manufacturer’s instructions carefully. I’ve also shown how to build an ideal foundation, or base, if you are laying directly on grass. In my view, this is an essential stage in any good instruction on how to lay a deck. You’re also definitely going to need a cordless drill for laying a deck – for the best options around, see my guide ‘Buying a cordless drill’.
 |
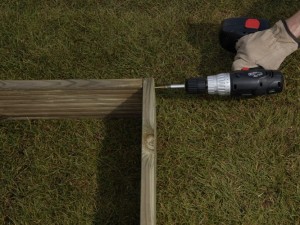 |
| 1. A deck is easier to assemble if two people work together. To complete an average-sized ground level deck, using a kit like the one shown here, should take between half a day and a day. | 2. Lay out the bearers to form a base. First, butt join them at the corners. Fix them together with screws designed for outside use – 70mm in length are appropriate for this design (there’s a bit more clarification on ‘bearers’ for this kit in the ‘Decking tips’ section below this sequence). |
 |
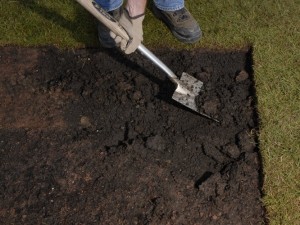 |
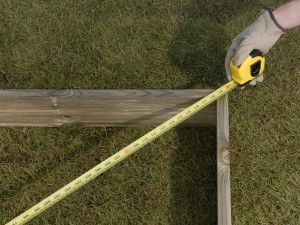
| 3. Before you continue adding bearers, evenly spaced across the frame, measure the diagonals to check that the frame is ‘square’. | 4. Mark the corners of the frame with a spade, on the ground. Move the frame to one side and remove the turf inside the marked area, and 5cm of topsoil. |
 |
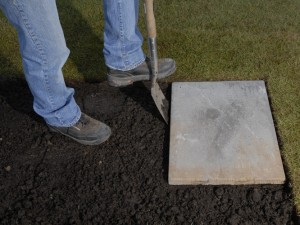 |
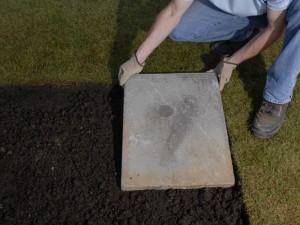
| 5. Place paving slabs at each corner and midway along each bearer, including the edges, or every 1.5m if you are laying a larger deck. | 6. Mark around each of the slabs with a spade, and then set them to one side. Remove 2.5cm of topsoil from each slab area. |
 |
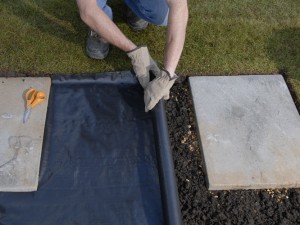 |
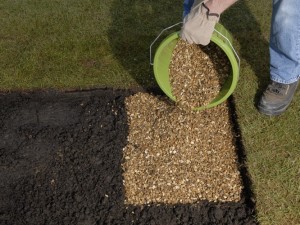
| 7. Replace the soil you have removed from beneath each slab with a bed of gravel. Reposition the slabs, checking that all are level and firmly bedded. | 8. Roll out a weedproof membrane and cut and trim to fit around each slab. If you need to overlap the membrane, do so by at least 10cm. |
 |
 |
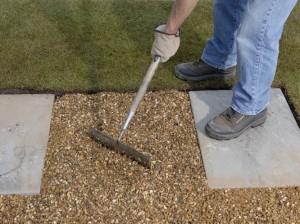
| 9. Cover the membrane with a thick layer of gravel, Spread it out evenly with a rake so that it is level with the top of all the slabs. | 10. Reposition the frame. Position the first board flush with the edge of the outer frame, at right angles to the bearers. |
 |
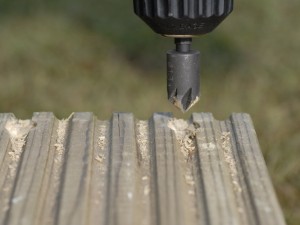 |
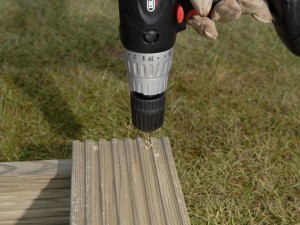
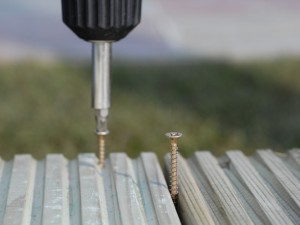
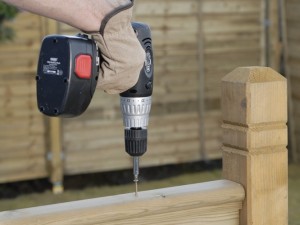
| 11. It is important that all fixing points are pre-drilled to prevent the timbers from splitting. A 2mm wood bit is normally ideal for making these pilot holes. | 12. If you countersink all drilled fixing points you will get a neater, smoother finish. Sanding any cut ends of timber is also advisable, to help avoid splinters. |
 |
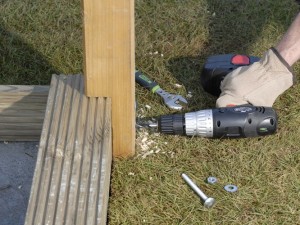 |
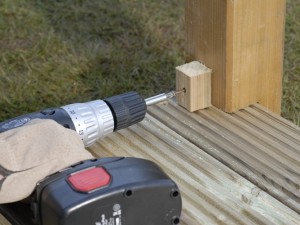
| 13. Fix the boards to the bearers with decking screws. Two at each bearer, positioned 1-2cm in from the board edges. | 14. This deck has a handrail. Therefore after the first board has been secured, fix the first handrail post in place, whilst you still have access under the deck. Cut out the required rebate at the base of the post and bolt in position as directed by the deck manufacturer. Normally, 100mm bolts are used for this purpose. |
 |
 |
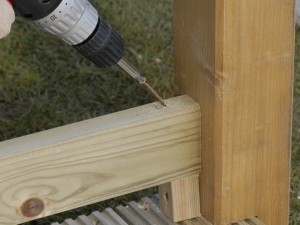
| 15. As you move across the frame, fixing further boards, keep even spaces between adjacent boards. Decking screws make ideal spacers. Once each board is secured, move the spacer screws to the next position. | 16. Remember when you approach the other end of the deck, you will need to fix a further handrail post(s), before you fit the final deck boards. Once all the decking boards are fixed in place, and handrail posts are in place, a small section of baluster (spindle) is then secured to the outer edge of the decking handrail posts. |
 |
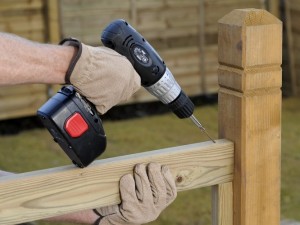 |
| 17. Horizontal handrail supports are then cut to fit, and positioned between the posts, before being fixed in position. The lower handrail support sits on top of the small baluster sections. | 18. A further section of baluster is then cut and fitted above the lower handrail supports, and fixed to the posts. The upper horizontal handrail support is then secured between the posts on top of the baluster sections. |
 |
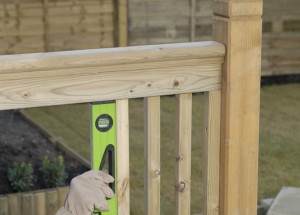 |
| 19. The handrails are then fixed to the top of the handrail supports. | 20. Attach the rest of your balusters to the upper and lower handrail supports. In this kit, they are literally face fixed to the supports. |
Decking tips
- The sequence above shows a typical procedure for a typical deck kit. Remember to follow the manufacturers’ guidelines supplied with your deck kit carefully, as there will be variations.
- Regarding the ‘bearers’ for this kit, I think a little more explanation is required – When you build a square or rectangular deck, traditionally the bearers would be substantial sections of timber, in the region of 15cm by 5cm in cross-section. However, with a kit that is laid at ground level, manufacturers have decided to actually use a decking board on its side as a bearer! Now, when I first saw this, I thought that it would never be substantial enough, but if decent decking boards are used (as in this example), believe me, it’s absolutely fine. So with many kits, the decking boards themselves make up the bearing frame, the bearers, and the deck covering itself.
- Ground level decks don’t normally require any planning permissions, but it is worth checking with your local authority website. More regulation starts getting involved with raised level decks – anything over 30cm off the ground generally requires planning permission, and therefore will certainly need to comply with building regulations. I’ll be doing more on raised decks in the future.
- Kits are usually supplied with fixings, but even if they are, I’d urge you to consider buying a pack of what I consider to be the best decking screws on the market – More information in my ‘Decking screws’ guide.
- In this example, I’ve laid the deck over grass, but if you’re laying it over an old patio or area of concrete, then there is clearly no need to remove such an ideal foundation for your deck.
- Most decking kits are designed so that very little cutting is required, but where you do need to saw through boards, its always best to treat the cut ends with a wood preserver.
- Please check out my ‘Buying a decking kit’ guide for a few pointers on what I consider to be the best options around.
