Building a shed
Building a shed is now a project that can be completed in a weekend, or even a few hours if you’ve done your research and are well prepared. Unless you want to do something bespoke, sheds are now basically kit items, they come with all the components you require, and a set of instructions for assembly. These instructions will vary between manufacturers, but below are a few general issues that can help in your chosen shed construction.
If you need some more information on which is the best shed to buy, please click on the link and check out my Shed Buying Guide.
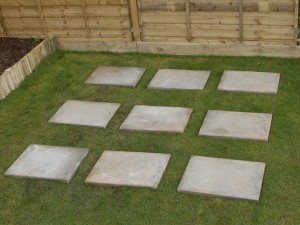 |
1. Make a firm level base of concrete slabs set just above the ground level. This will keep the shed off the ground and allow air to circulate. |
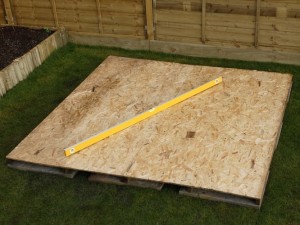 |
2. Assemble and lay the shed base on the slabs. Check that it is level across all the angles and, if necessary, lower slabs where required. |
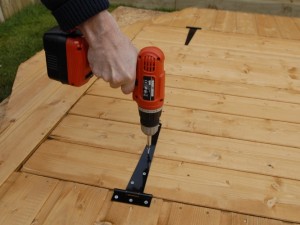 |
3. Fit the doors to the appropriate panel as directed. Take extra care in measuring out the position of the hinges. |
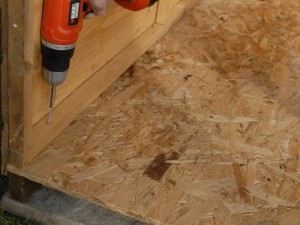 |
4. Position the first wall panel, so that the left and right edges are flush with the floor edges and secure it to the floor. |
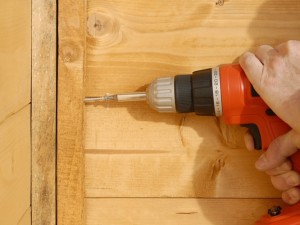 |
5. Place and fix the next panel in the same way at floor level, before joining it in the corner with the first. Follow the directions for size and frequency of fixings. |
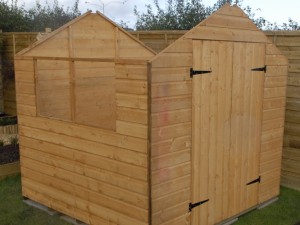 |
6. Repeat the same procedures to fix the two remaining panels in place. Before fitting the roof panels you may well have to fit extra supports across the frame. |
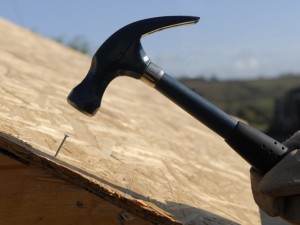 |
7. Slot the roof sections in place and pay close attention to how the rebates on the edges should line up. Nail through the edge of the sections to secure them into the wall panels. You will then need to cut the the felt for the roof. |
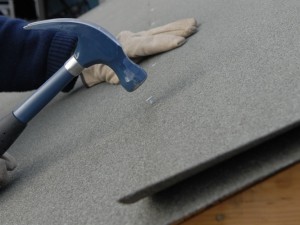 |
8. Starting at the bottom of the roof edges, nail the felt as directed. You will have to fold the edges of the felt neatly along this bottom edge to secure it in place. Once both edges are complete, you will normally have to position a third piece of felt that will span the shed apex and overlap onto each side. |
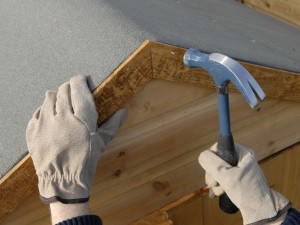 |
9. Secure the barge board at both ends of the shed so that the top edges align with the roof and meet at the apex. Trim away any excess felt. |
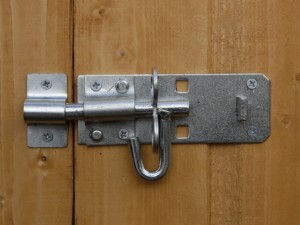 |
10. Secure the pad bolt provided to the outside of the door fixing through into the horizontal support battens on the inside. |
Shed building tips
- As stated in my introduction, instructions will vary, but these are the main principles. The key is to keep checking the exact positioning of any rebates and slots as you put the whole shed together. Most problems occur when you say overlap one edge with another in the incorrect way – so I say again – double check the instructions. Also, some sheds will have windows – again pay close attention to instructions.
- Always, always have a base to get the shed off the ground – here I’ve shown slabs which are a quick and efficient choice. A further option is to lay some wooden bearers (100mm x 50mm treated timber, or similar) on the slabs, and position the floor on top of these. This will incur a little extra cost to the project, but will also add another year or two to shed life!

Hi I am in the process of building a shed (got the base down!). But I am building next to my garage and cannot think how I am going to get the roof felt on once the shed it up. Any suggestions on added felt in a tight space?
Hi Jon,
Strangely enough, had a similar problem in my own garden. The best option is to get the shed walls up etc. then cut and fit the first piece of felt to one of the roof sheets, but only tacking it securely in place along the eaves batten. You then lift it in position with at least one more pair of hands helping, to make sure you don’t damage the felt, as it will try slipping and tearing.
You can now nail the roof sheet in place, along the gable edges as normal, before securing the felt along these edges. Obviously, the eaves is sorted, so you then just crack on with the other roof sheet, and the rest of the felt.
Anyway, that’s the system I used, and it’s still there 8 years later.
Hope this helps, and let me know if you need any more advice.
Best, wishes,
Julian
Thanks, that should work! As it happens, I think I now need to move my base left a bit, away from the garage, as I did not take into account the added width of the roof itself! Lucky I used those plastic recycled bases!