Fitting coving
Modern coving is mostly made from plastic, polystyrene, or plaster. The techniques for measuring and cutting remain the same for all, but the type of adhesive you use will need to vary accordingly. I’ve chosen to use plaster coving in the sequence below. The trickiest thing about fitting coving is dealing with the corners. You may either cut your own mitre joins for corners or use corner pieces supplied by the manufacturer. Both options are shown below.
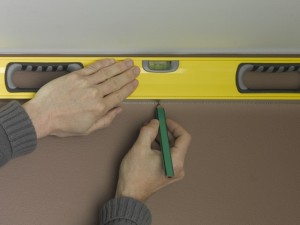 |
1. Depending on the depth of your coving, draw a horizontal line on the wall marking the position for the lower edge of the coving – the measurement required for how far down the wall to position this guideline should be on the coving packaging. |
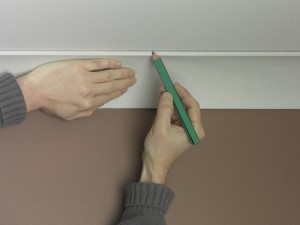 |
2. Position an offcut on the line and draw a second line along the upper edge of the coving. |
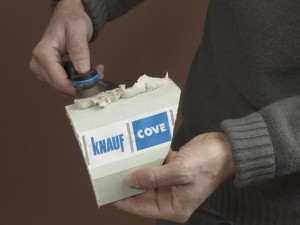 |
3. If you decide to use ready-made corner pieces, apply adhesive to the upper and lower edges of one section. |
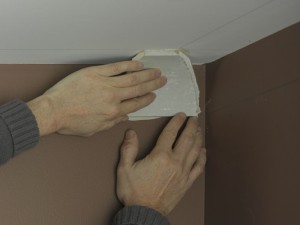 |
4. Press the coving corner piece into place, in between the guidelines, carefully aligning the top and bottom edges so that it sits perfectly. |
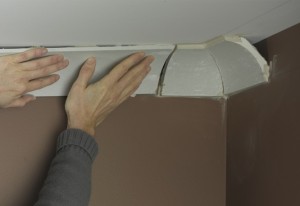 |
5. Fit the second corner piece in the same way, before applying adhesive to the first full length of coving. Butt join it with the corner piece. |
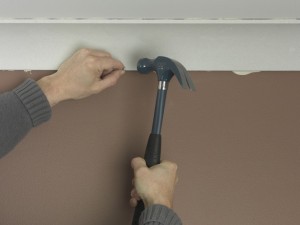 |
6. Press the coving firmly in place, aligning edges. Find safe places to tap in some nails below the coving to hold it in place and add support while the adhesive dries. |
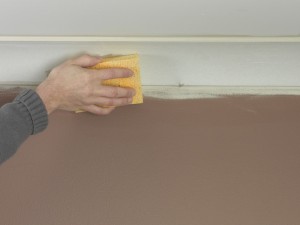 |
7. Run a damp sponge along the top and bottom edges to smooth away any excess adhesive squeezing out around the edge of the coving. |
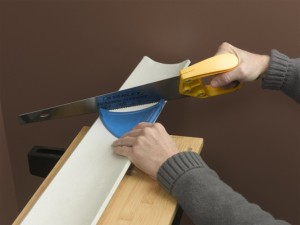 |
8. If you are cutting your own corners, a coving mitre can be used. Follow the simple guides on the tool to make the correct cut. |
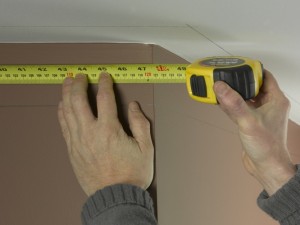 |
9. Always measure as precisely as possible. Depending on the coving thickness, take off a few millimetres at internal corners and add a few at external corners, to ensure a tight joint. Here the manufacturer recommends 6mm – check the packaging for this measurement with your coving. |
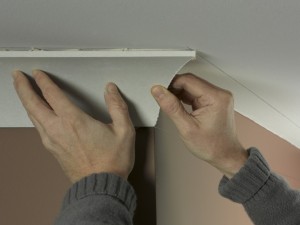 |
10. It’s always best to check a joint by matching up the sections dry, before finally adding adhesive and pressing in position. |
Coving tips
- The technique for fitting coving shown above assumes a level, even ceiling/wall junction. With an undulating ceiling it is difficult to use a spirit level and/or piece of coving to draw accurate guidelines before you begin. For small undulations, you can ‘pack out’ gaps with extra adhesive. For larger undulations the coving will need to follow the ceiling/wall junction profile.
- If you choose to cut your own corners (mitres), you may find that the manufacturer provide their own particular mitre or a paper template that may be used for marking guidelines. You can use these or simply use a standard mitre block – as long as it is large enough to accommodate the size and depth of coving you have chosen.
- If you don’t do a lot of DIY, take a little time to understand the principles of the corner and mitre join. Internal corners are those that point away from the centre of a room. External corners are those that point into the room. For cutting coving you need to understand four types of mitre – an external right hand mitre, an external left hand mitre, an internal right hand mitre and an internal left hand mitre. Whether its right hand or left hand is determined by whether its on your right or left hand side as you look directly at the corner.
- With plaster coving, use the adhesive to fill any holes or imperfections at joints. Always smooth away excess with a damp sponge as it dries incredibly hard and therefore takes time to sand back to a smooth finish. It is therefore best to fill these holes in stages – fill, wipe, do some more lengths, come back and fill and wipe again.
- For particularly heavy coving types, rather than use temporary fixings to support the coving, use permanent ones that actually go through the coving into the wall.
