Fitting ceiling roses
Traditional ceiling roses are made of plaster, but you can now buy lightweight resin and plastic varieties. The lighter weight options do make their fitting much easier, but some people will still prefer the look and feel of a plaster rose.
 |
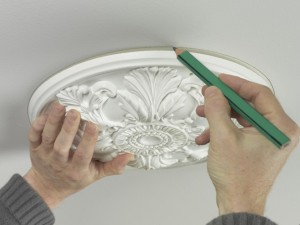
1. To add a decorative ceiling rose as a feature in a room, carefully measure and mark the central point of the room on the ceiling. Position the centre of the rose over this mark. Hold firmly in place and draw a pencil line around it. |
 |
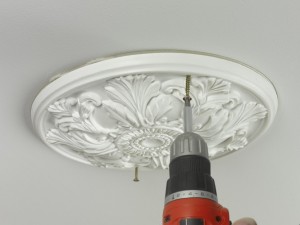
2. Use a cable, pipe and stud detector to help find fixing points and avoid hitting wires or pipes. Apply some coving adhesive generously to the back of the rose and press it firmly in position. Insert temporary screw fixings. |
 |
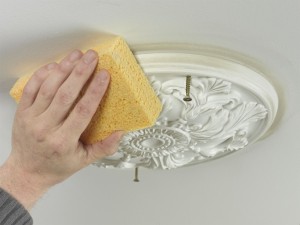
3. Smooth adhesive all the way around the edge of the rose to make a neat finish, whilst removing any excess with a damp sponge. |
 |
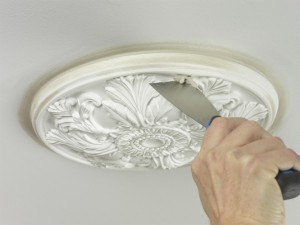
4. When the adhesive has dried and the rose firmly held in place, remove the temporary fixings and fill the holes. Sand to a smooth finish when dry. |
Ceiling rose tips
- Always pre-drill holes in the ceiling rose before inserting fixings.
- For plaster/heavy ceiling roses it is best to leave some permanent fixings in place, rather than remove them once the adhesive dries. Make sure that you countersink the screws – plaster roses will crack easily so take great care when pre-drilling and countersinking the holes – have your drill on a slow speed. For more tips about drilling speed and power, see my guide – ‘How to use a cordless drill’.
Â
