Laying a paver path
A paver path is straightforward to lay, and doesn’t require any mortar as effectively the whole thing is laid ‘dry’. Paver types and sizes vary with the ones shown here being a typical colour and design, but there are plenty of other options out there. The main consideration is how much compacting the sub base or foundation to the path will require. If you’re making a paved area for vehicles, then you really have to go down the route of greater excavation and comapacting a hardcore layer to form the base for the pavers. But for a path, if the soil is compact and hasn’t been disturbed for years, then there is no reason why you cannot simply lay the pavers onto a sharp sand bed, which is the technique I have shown below.
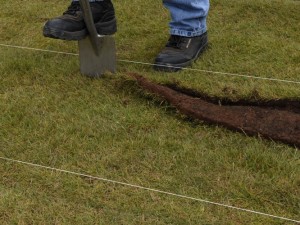 |
1. Use pins and line to mark out the path. Use a spade to dig out the area to the depth of the pavers plus another 7.5cm. |
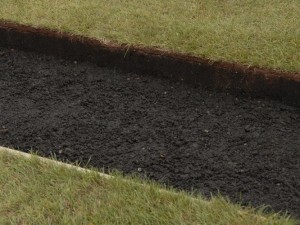 |
2. As I suggested in the introduction, if the soil is compact, you may need no further foundation. For uncompact soil, excavate a further 10cm and pour in a hardcore foundation. This should then be compacted with a rammer or plate compactor before continuing. |
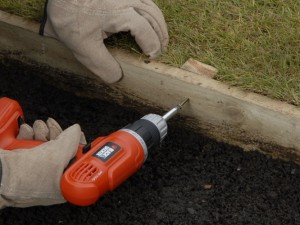 |
3. Drive in pegs along the length of the path edges at 1m intervals. Fix treated timber edging boards to the pegs on either side of the path. Use a level to keep checking that the board is level with, or, slightly lower than the ground. |
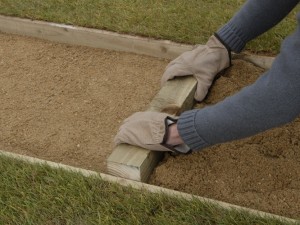 |
4. Pour in sharp sand to a depth of 7.5cm and compact down. An offcut of timber cut to the width of the path can help here with levelling off the surface. |
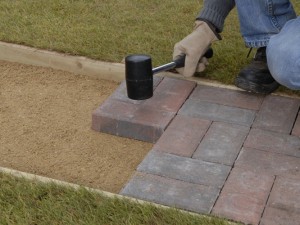 |
5. Start at one end of the path and lay the pavers according to your chosen design. Butt each paver tightly against the next and give each one a tap with a mallet to bed it in place. |
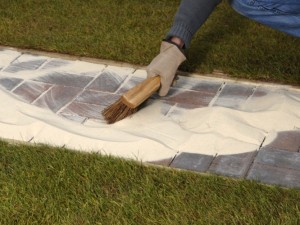 |
6. Once all the pavers are laid, brush kiln-dried sand into the paver joints. Ideally the path should then be compacted with a plate compactor. After a few days, repeat the brush over with some more kiln dried sand to fill any missed areas. |
Paver tips
- The pattern I’ve used here is designed so that you need to make as few cuts as possible. Also, by being meticulous in laying out the path dimensions (width especially), you can make the job an awful lot easier. If you do need to cut pavers, this can be done with a lump hammer and brick bolster, but if you have a lot to do, I would seriously consider getting or hiring a block splitter.
- Having a slight gradient on the path will clearly aid drainage.
- Because the pavers are laid on sand, if when you position one its is slightly too high or too low, you can simply remove it, adjust the sand level as required, before repositioning the paver.
- Its important to use sharp sand as the bedding layer as building (or soft) sand can easily become waterlogged and cause problems with pavers sinking.
- If you use a plate compactor across the surface of the pavers to bed them in, then its best to cover the surface with some kiln-dried sand which will help prevent any surface damage to the pavers.
