Mirror brackets
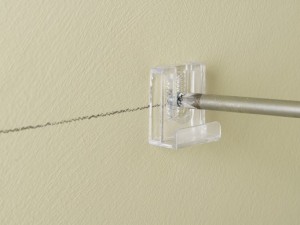
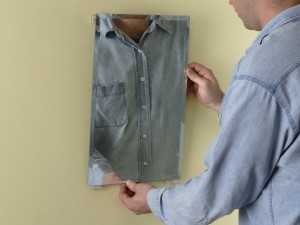
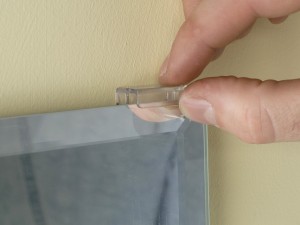
Mirror brackets are used to hang mirrors that are frameless or have no pre-drilled holes. Bracket design does vary, but the examples shown below are an excellent option for securing a mirror. Remember to take care when finding suitable fixing points, and there is more about this in my ‘DIY Basics’ guides. Below, only a small mirror is being hung, so only two brackets are required along the bottom edge and two further for the top edge – larger mirrors may need more brackets.
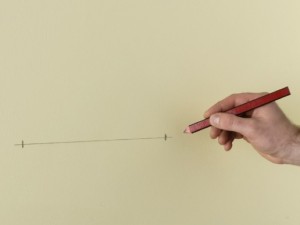
In this example the two level fixing guidelines are drawn about 1cm above where the position of the bottom edge will be, and about 1cm below the position of where the top edge will be. Depending on your exact mirror bracket design, this distance may vary slightly, so it is a good idea to lay the mirror down on a flat surface (table), loosely position the brackets, lift the mirror away, and take a measurement to provide the ideal guideline for the distance between your mirror brackets.
Hanging a mirror tips
- You must take care with final positioning of your mirror as if your wall is not completely flat, and you screw all your brackets up tightly, then you risk breaking the mirror as the clips will effectively try to ‘bend’ the mirror. Therefore, you may need to position some packers (rubber washers) behind some brackets in order to keep all four brackets aligned in the same plane. Washers are often supplied by the manufacturer.
- If your mirror has pre-drilled holes, then you should look to hang it using mirror screws. See my guide ‘Hanging a mirror with mirror screws’.


