Making a push-fit copper joint
Making a push-fit copper joint is a simpler alternative to using the traditional technique of soldering joints. Quite simply, copper push-fit fittings require no blowtorch, flux and solder, making them an attractive option for DIY. Below is shown how to make a copper push-fit joint with a straight coupler, but the same principles can be applied to other angles and types of joint requirement.
 |
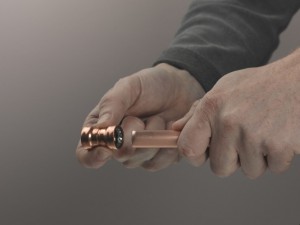
1. Push the end of one pipe into the copper joint – which contains a grab ring and seal. Ensure that it goes in as far as possible. |
 |
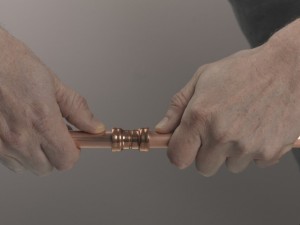
2. Repeat the process with the other pipe, pushing it into the other end of the joint. Again, ensure that the pipe is inserted in as far as possible. |
 |
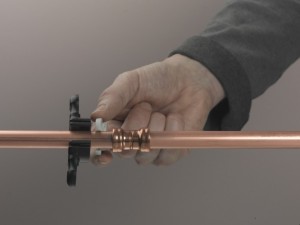
3. This is all that is needed unless you need to disassemble the joint and adjust pipe length. For this, use a de-mounting tool positioned around the joint collar. |
 |
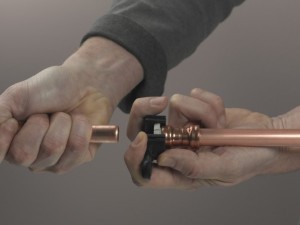
4. Apply pressure on the joint with the de-mounting tool and this will release the grab ring inside and allow the pipe to slide out. |
Copper push-fit tips
- When you buy joints, make sure they are the correct size for the pipe you are joining. 15mm and 22mm are common in domestic situations.
- Techniques for joining and the design of the de-mounting tool may vary between different manufacturers.
- For more information on cutting pipes, see guide – ‘Cutting copper pipes’.
