Fitting skirting board
Fitting skirting board requires careful measuring and precision in order to produce a neat finish. Corners need mitred (angled) cuts, and this is where a little practise may be required in order to identify the correct angle of cut required. The process is made much easier by using a mitre block, which automatically provides you with a guide. Always use a cable, pipe and stud detector to help find safe and secure fixing points in the wall surface.
Before you start you will need to know whether you have timber stud (hollow) or masonry walls so that you can identify the correct fixing method. Sometimes you may have both wall types – as shown in the example below.
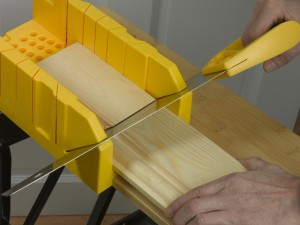 |
1. When joining skirting to an architrave, a straight cut is all that is required. However, for corners, mitred (angled) cuts are required – use a mitre block to provide the correct angle of cut for joining lengths. |
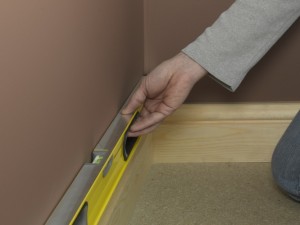 |
2. When adjacent lengths have been mitred, position them and check that they join neatly and are level. Small undulations in the floor, and therefore gaps below the bottom edge of the skirting are acceptable. |
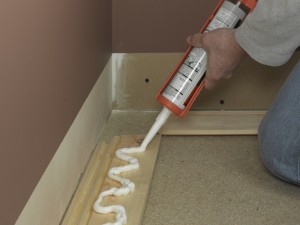 |
3. Lay both pieces of skirting face down and apply some grab adhesive along their lengths. This will help to secure the boards in place. |
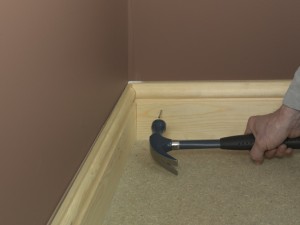 |
4. On stud walls, use lost-head wire nails to fix boards by nailing through the skirting directly into the upright wooden studs. |
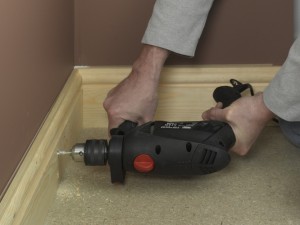 |
5. For masonry walls, first you can try masonry nails, but these can be difficult to knock in, so instead, you can use screw fixings. Drill pilot holes through the skirting and into the masonry wall. A 7mm masonry bit is ideal. |
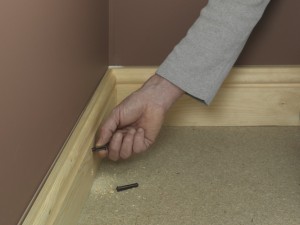 |
6. Insert 7mm wall plugs into the hole. These can be pushed in by hand, but may need a tap with a hammer to ensure they are flush with the surface of the board. |
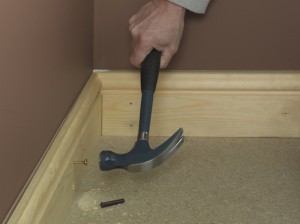 |
7. Carefully knock a 50-60mm screw into the wall plug with a hammer. Gently tap in until you feel firm resistance. |
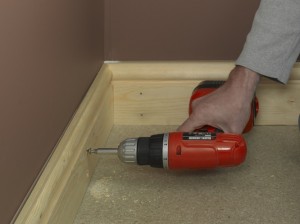 |
8. Tighten the screw using a drill/driver. Position another fixing below this by repeating the process. Add further pairs of fixings at 40cm intervals along the wall. If you are fixing to stud walls with nails, again use pairs of fixings at 40-60cm intervals (i.e. coinciding with the distance between adjacent studs). |
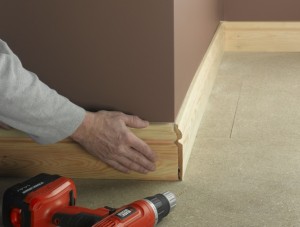 |
9. At external corners (those that point into the room), mitred cuts are again required to make the join. Again check the joint before fixing in place. |
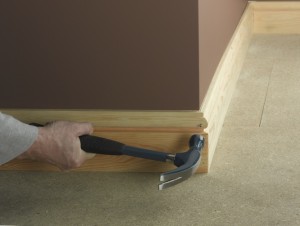 |
10. To ensure that the mitre holds together, drill pilot holes along the end of one board and into the next, before securing with some lost head nails. Use a hammer and nail punch to tap the nail heads below the wood surface. |
Skirting board tips
- When fixing into a stud wall, it can be difficult to find the upright studs – this is where a cable, pipe and stud detector can help. One good tip is to look for clues on the wall surface  as to where these uprights might be – nail heads, lines or vertical cracks in plaster may indicate the edge of plasterboard sheets and therefore upright studs. Once you have found one, the next ones will generally be at 40 or 60cm intervals.
- Make sure nail heads are punched in below the wood surface. Also it is best to use self countersinking screws or use a countersink drill bit before inserting screws so that all heads will sit below the wood surface once in place. All nail and screw fixing heads may then be filled over and sanded smooth before decoration.
- Skirting boards are practical as well as decorative. They will cover the junction where the wall meets the floor, protect plaster and prevent damage to the bottom of the wall, prevent draughts and allows you to wash or vacuum the base of the wall without marking paintwork or wallpaper.
- There are many different styles of skirting board available, from simple chamfers to much more intricate designs. You can also create your own design by adding a moulding to the top of a plain timber board.
- If you are fitting both skirting and architrave in a room, do the architrave first.
- When doing any sort of woodwork around the home, you’re almost certainly going to need a cordless drill. For more information on the best options, please check out my guide – ‘Buying a cordless drill’.
- If you’re going to do a lot of work requiring mitred cuts, consider buying an electric mitre saw. It just makes the job so much easier. If you need more information on these, please check out my mitre saw buying guide.

Very informative and useful post, thank you for sharing your experience and showing everything on pictures as well.
I hope you’ve not mitred the internal angles of the skirting board? They should be scribed!
Hi Bob,
Yes I take your point, but I personally don’t have a problem with mitring internal corners. The pros don’t like it, but I tend to argue that with more complicated profiles such as ogee and torus, you get a much better/tighter join. With bullnose or simple profiles, I would tend to scribe or make profile cuts, because its clearly much easier in that situation.
Hope I haven’t upset you too much!
Best,
Julian