Changing internal doors will instantly revitalise a room, however, the job will be considerably easier if you use the same size hinges as before, and can therefore use the same hinge positions that are already on the door frame (door lining) – this is the technique that is demonstrated below. If you require a new door lining before fitting your new internal door, please see my guides ‘Interior door frames’ and ‘Fitting a door lining’.
Door sizes are standardised to three common widths that are exact in terms of their imperial measurement – 2ft 3in (686mm), 2ft6in (762mm), and 2ft9in (838mm). If you have a non-standard doorway, you may need to have a new door specially made. Most off-the-shelf doors will be a very tight fit in a standard door frame, and therefore need a small amount of wood trimmed off their height and edges in order to fit them.
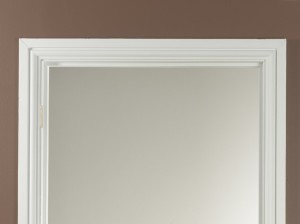
1. Unscrew the hinges and remove the old door. Ideally, plan to keep the doorstop (thin strip running round the inside of the lining) in the same place. Retaining the doorstop will generally work as long as the new door is the same depth as the old one. Otherwise its position will need adjusting (see step 29). |
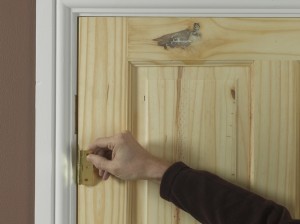
2. Allow for a 3mm gap between the hinged edge of the door and the lining. A butt hinge is ideal to measure the gap. |
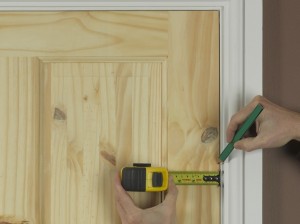
3. On the closing edge, measure for a 3mm gap between the door edge and lining. Draw a pencil guideline on the door edge using a spirit level. |
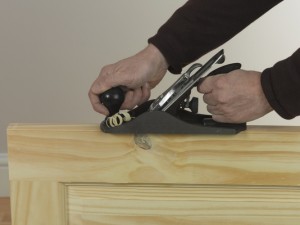
4. Lay the door on its side and plane back to the pencil line. Replace the door and check that both edges have 3mm gaps. |
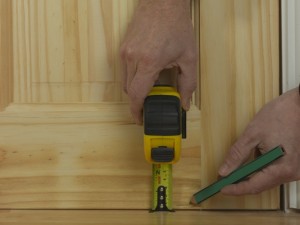
5. You also need a 3mm gap at the top and bottom of the door. Remember to bear in mind the finished level of the floor. |
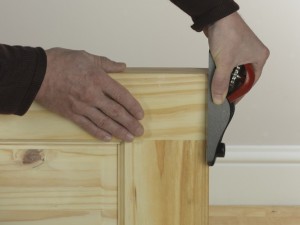
6. Mark with pencil lines and plane off as required. When using the plane, work from the outer edge of the door inwards to prevent splitting the end grain. To remove more than a few millimetres, use a panel saw. |
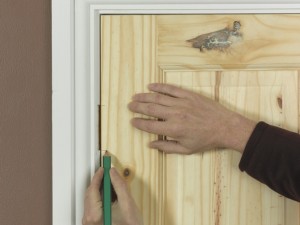
7. Reposition the door. Mark across from the exact position of the old hinges on the lining onto the new door edge. |
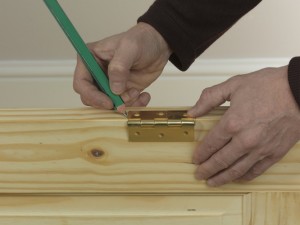
8. Lay the door on its side and use the marks to position the hinges. Draw a line around them and also, mark the hinge thickness on the front edge of the door. |
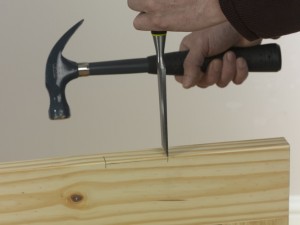
9. Use a chisel to make two cuts at either end of the hinge position, allowing the chisel corner to cut slightly further than the end of the long pencil line. This will help prevent the wood splitting outside of the hinge area when you come to chisel out the wood in step 11. |
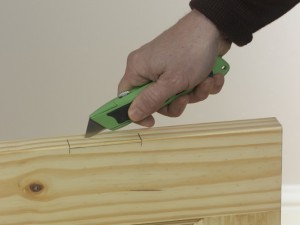
10. Carefully run a craft knife along the long side of the pencil line between the two chiselled cuts, pressing firmly but evenly. Cut to hinge depth. |
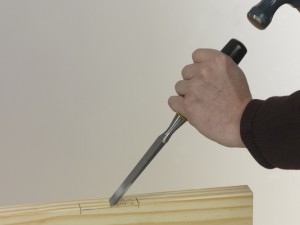
11. Remove the marked out area with a chisel. First make cuts across the grain every 5-10mm, so you don’t split the wood, tapping in the chisel to hinge depth. |
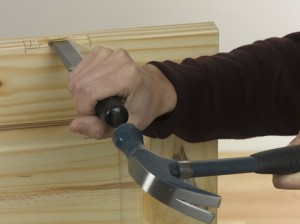
12. Gently use the chisel blade to remove the wood by tapping the chisel along the pencil line at the front edge of the door. |
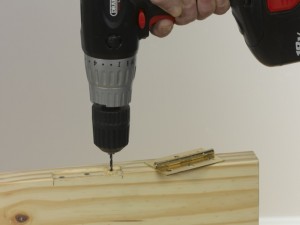
13. When you have removed the wood from the hinge position, repeat the process for the other hinge(s). Then hold each hinge in place, and use a pencil to mark the screw holes. Remove the hinges and pilot drill screw holes with a 2-3mm bit. You can then reposition the hinges and screw them in place. |
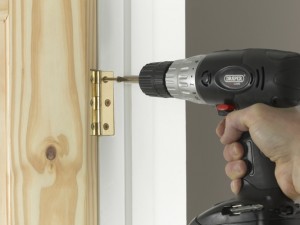
14. Fit the other half of the hinge into the existing hinge positions on the door lining and screw them in place. You might need someone to hold the door. |
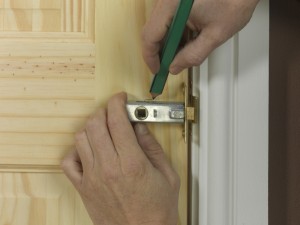
15. Holding the latch in position, mark the top, bottom, and end of the latch casing on the door face. Line it up with the existing latch plate in the door frame. |
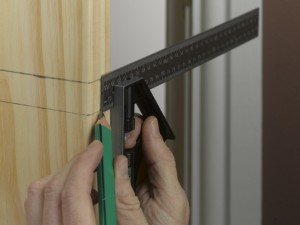
16. Continue pencil lines across the door edge and draw a vertical guideline through the middle of the horizontal lines. |
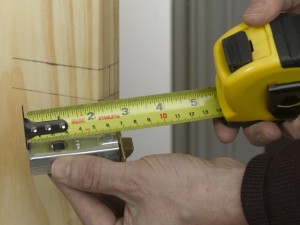
17. Measure the latch length and also the distance from the latch end to the spindle centre and mark this on the door. |
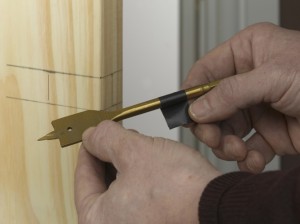
18. Choose a flat bit that is slightly larger than the latch casing and mark the latch depth with some tape. |
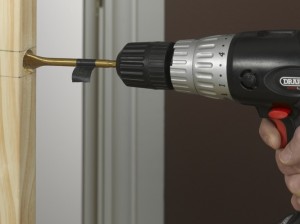
19. Place the bit point at the mid point on the vertical guide on the door edge and drill slowly to the required depth. Be as precise as possible in keeping the drill bit level and at right angles to the door edge. |
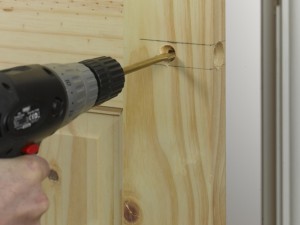
20. At the marked off spindle position, drill carefully into each door face taking care not to split the wood. Again, use a flat bit slightly larger than the spindle width. |
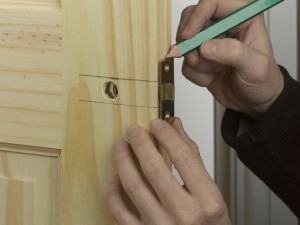
21. Push the latch into the hole and position it precisely vertical. Draw a pencil line around the latch plate. |
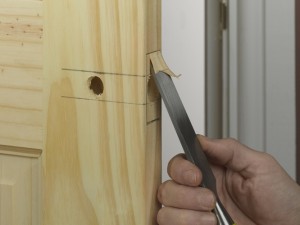
22. Remove the latch and chisel away the wood within the guidelines, to the depth of the latch plate. Use the same principles shown in steps 9-11, to prevent splitting the wood. |
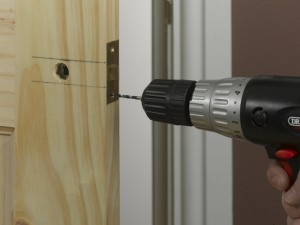
23. Push the latch into position ensuring the latch plate sits snugly. Drill pilot holes for the screws and secure in place. |
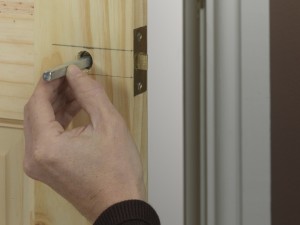
24. Insert the spindle through the latch. Long spindles may need cutting down – a junior hacksaw is ideal for this. |
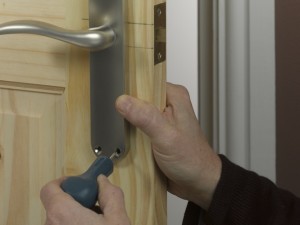
25. Position the handles on the spindle. Make sure they are precisely vertical and use a bradawl to mark fixing holes. Remove the handles and drill pilot holes for the screws. |
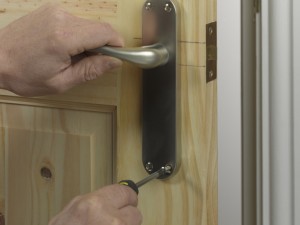
26. Fix handles in position with a hand held screwdriver, as a drill driver can easily slip and scratch the handle surfaces. |
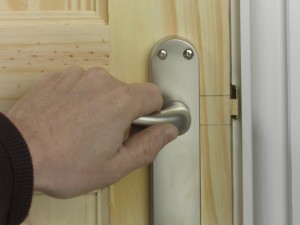
27. Close the door and check that the latch engages correctly with the strike plate on the door frame. |
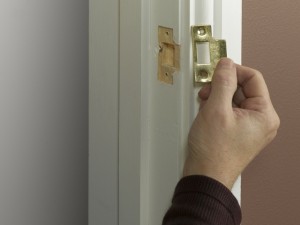
28. If the strike plate needs any slight adjustment, unscrew it, chisel out any wood as required and refix the plate. |
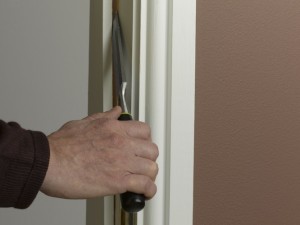
29. If the door rattles or does not close tightly against the doorstop, lever it off with a chisel. Then close the door and reposition it on the door lining. |
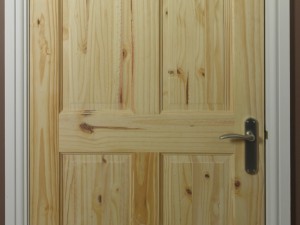
30. Before decoration, have one final check to ensure that the door closes neatly within the frame. |
Door fitting tips
- If you do not use the old hinge positions as guidelines for hanging the new door, the standard positioning for hinges on a door edge are 15cm down from the top and 22.5cm up from the bottom. For a heavy door, a third hinge can be placed equidistant between these two. A third hinge is also a good idea for cheaper doors as it will help prevent them bowing.
- Removing an old door can be tricky if the hinges are old and have been painted over. In such cases, a good tip is to use a hammer to tap the handle of an old screwdriver with the end of the screwdriver positioned on the screwheads. A couple of taps will usually break the paint seal and make unscrewing the screws possible.
- Make sure that you use sharp chisels when hanging a door – with a blunt one, you’ll just end up splitting the wood.
- Be aware that the latch sets vary in length. The one I’m showing is 76mm. The other common option is 63mm – longer ones than these tend to be used with knobs rather than handles.
- You will certainly need a drill for fitting a door, so please see my guide – ‘Buying a cordless drill’ for advice on the best options available.