Tiling walls
Walls must be in a sound condition for tiling, and quite simply, the flatter the better. Any wallpaper must be removed, but you can tile over old tiles if they are firmly stuck down. If in doubt, it’s always best to remove the old tiles. Wall surfaces must be sealed correctly before tiles are applied – always take directions from the tile and adhesive manufacturer, as sealant type recommendations can vary. How many tiles you need may be worked out by simply dividing the wall area that you want to tile by pack size (coverage).
Height of area multiplied by width of area = The number of square metres
Square metres divided by pack coverage = How much you need
It’s always best to add 10% for cutting waste.
When tiling walls, your starting point is important to establish a balanced design and allows for manageable cuts. For example, if you are tiling a complete wall, allow for a similar size of cut in each corner. Do not plan to leave small slivers at corners as they are difficult to cut. The closer a cut is to half a tile, the easier it is to make. If you are starting at ground level, you cannot guarantee that the floor is level. It is therefore best to attach a level batten to the wall and work up from this. When tiling around a bath or shower tray, check that the edges are level, in which case you can use them as a suitable potential starting point for tile rows. When measuring out the dimensions of a design, remember to allow for grout gaps – normally 2-3mm for wall tiling.
A regular grid pattern is the most common wall tiling design (shown below), but you can stagger joints between rows to create a brick bond pattern or rotate tiles to create a diamond pattern.
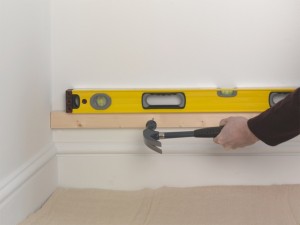 |
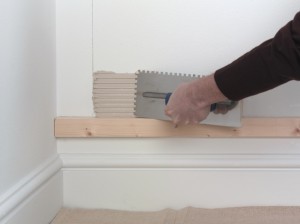 |
| 1. Nail or screw a batten to the wall at your chosen starting point. Use a detector to help find safe fixing points. | 2. Use a notched adhesive spreader to apply adhesive to the wall. Use the edge to create ribbed lines of equal depth. |
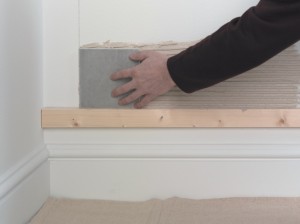 |
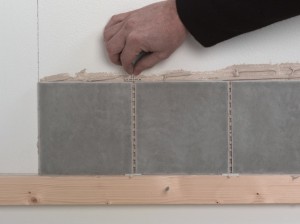 |
| 3. Position the first tile using a slight twisting motion onto the wall surface. Make sure it sits flush on the batten. | 4. Continue positioning tiles along the batten, using spacers to maintain equal gaps between the tiles for grout. |
 |
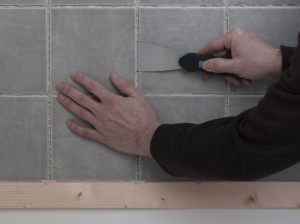 |
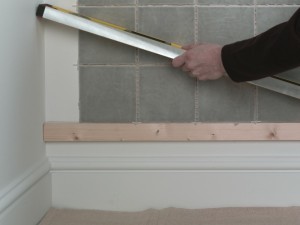
| 5. Once you have laid a block of 6-9 tiles, use a spirit level to check that the tile surface is as flat as possible. | 6. If a tile has sunk below, or sits proud of, surrounding tiles, prise it off and add or remove adhesive accordingly. |
 |
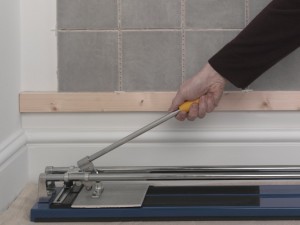 |
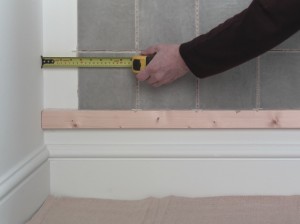
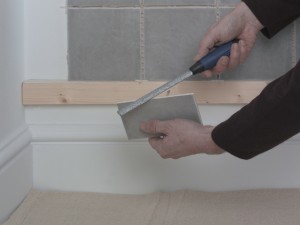
| 7. At a corner, measure from the tile edge to the corner, allowing for grout. Measure top and bottom as the gap may vary. | 8. Mark the measurements on a tile. Place it in the tile cutter and score along the line in one precise movement. Press down on the handle to snap the tile. |
 |
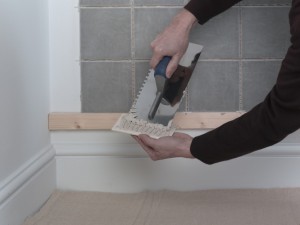 |
| 9. Smooth any roughened cut edges using a tile file. Take care not to scratch the tile surface. | 10. With small cut sections of tile, apply the adhesive directly to the back of the tile before pressing it in position. |
 |
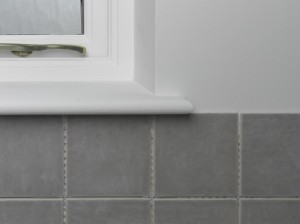 |
| 11. At internal corners, spacers will need to be used across the corner to maintain gaps. Remove once adhesive has dried. | 12. For external corners, such as a window reveal, one option is to overlap tile edges along the corner. |
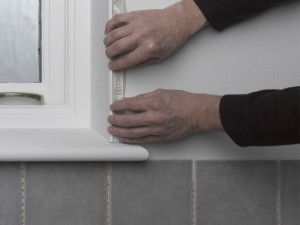 |
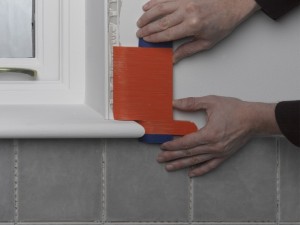 |
| 13. You can also use a corner trim. Stick the trim along the corner with adhesive. These are ideal for covering cut or unglazed edges. | 14. Use a profile gauge to create a cutting edge template for awkward shapes such as the edge of a window sill. |
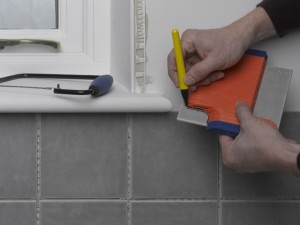 |
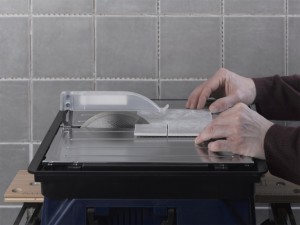 |
| 15. Mark off the required profile cut on the tile and use a tile saw to carefully cut out the required shape. | 16. If you need to make right angled cuts, an electric tile saw is useful and quick – a hand held tile saw is much slower. |
 |
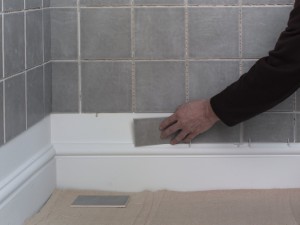 |
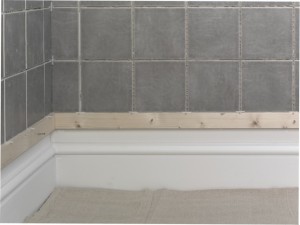
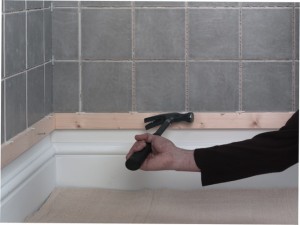
| 17. Once the main design is complete, allow the adhesive to dry overnight before removing the guide batten. | 18. Infill below the main design using cut tiles. Again use spacers to maintain the gaps until the adhesive dries. |
 |
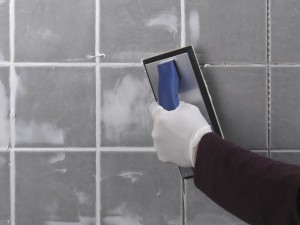 |
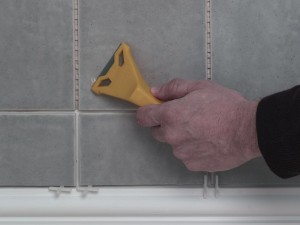
| 19. Remove any excess hardened adhesive from the tile surfaces using a window scraper. Take care not to scratch any tile surfaces. | 20. Mix grout (or take ready mixed from the tub) and apply across the tile surface, pressing firmly into the gaps. |
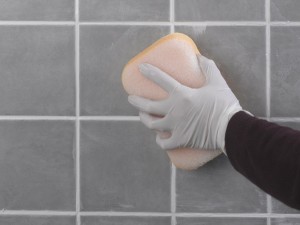 |
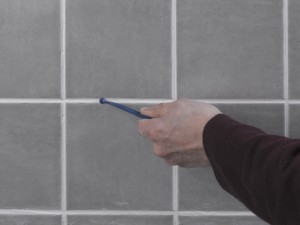 |
| 21 After every square metre or so, use a damp sponge to wipe across the tile surface to remove any excess. | 22. As the grout just starts to harden, draw a grout shaper smoothly along the grout lines to create a neat finish. |
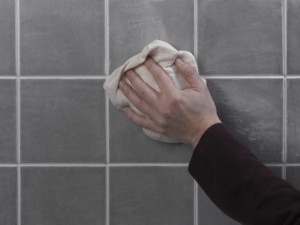 |
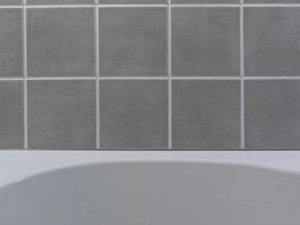 |
| 23. Once you have finished all the grouting, and it is quite dry, buff the surface with a dry cloth to remove any residue. | 24. At the joints created with shower trays and baths, for example, silicone sealant needs to be applied. |
 |
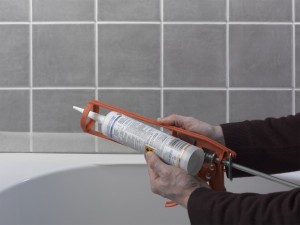 |
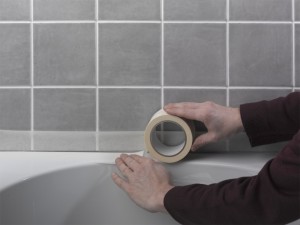
| 25. Along these joints, before applying sealant, use some masking tape to mark off either side of the joint. Clean the surfaces before sticking it down. | 26. Unscrew the nozzle and cut off the top of the sealant tube. Replace the nozzle and load the tube into a cartridge gun. |
 |
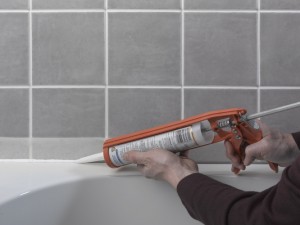 |
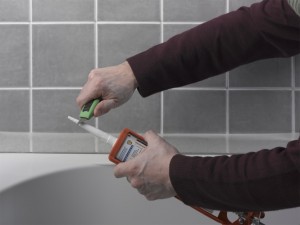
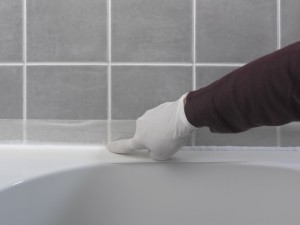
| 27. Cut the tip of the sealant tube to slightly larger than the width of the gap between the masking tape lengths. | 28. Gently squeeze the trigger to apply the sealant along the joint. Move gradually to dispense an even bead. |
 |
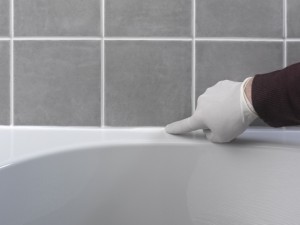 |
| 29. Smooth gently along the joint with a wetted finger to produce a consistent depth of sealant. | 30. Remove the masking tape and smooth once more with a wetted finger to provide a neat watertight finish. |
Tiling walls tips
- Some tiles require sealing, such as some natural stone varieties. Use the tile manufacturer’s recommended sealant and apply before grouting.
- When tiling a small area such as a splashback above a basin, centralise the design according to the basin width. If the basin rim is level, you can use this to support the first and subsequent tile rows.
- An electric tile cutter or tile saw is by no means essential, but will make tiling a lot easier – especially if you have a number of complicated cuts. Non-powered tile cutters can only make straight cuts – so you will also need a hand held tile saw if you need to do anything more tricky. Please take a look at my ‘Tile cutter buying guide’ for more information.
- If you need to cut around pipes, two methods apply. On a new project, ideally tile before the first fix plumbing is complete, so you can cut holes in tiles with special hole cutters before slipping them over the pipe end and attaching the fitting. Otherwise, use a profile gauge to provide a guideline for cutting with a tile saw.
- Different types of tile trim are available for finishing off the edges of a design. Use on external corners (as shown above) or on a flat wall surface as a neat edge to finish your design.
- In wet rooms, it is important to tank walls (and floors!) before applying tiles. There are many systems available. You may also choose to tank (waterproof) shower cubicles before tiling. Plasterboard must be tanked before tiling in a wet area – alternatively use a cement board, but again check the manufacturer’s recommendations for tanking and adhesive specifications.
- Spacers do not have to be used flat in between tiles. For thin tiles, staggered patterns and multi-sized tile designs, leave them protruding from the the tile gaps, and remove once the adhesive has dried.
- One thing that I think has changed considerably in recent years is the popularity of using very large, often referred to as large format, tiles. Because of their weight, it is now really important to check that your adhesive, as well as wall surface is capable of supporting these tiles.
