You can tile directly onto concrete floors if they are sound, dry, and level, or you can use a self-levelling compound to improve the surface. Floorboards should be covered with 12-18mm ply to provide a sound, rigid surface for tiling. For more information on laying a suitable subfloor see the related posts at the bottom of this page.
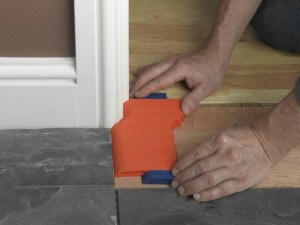
Removing skirting and architrave, toilets and pedestals before tiling makes the job much easier and allows you to cover any cut edges when all these elements are replaced. It is perfectly possible to tile without removing these items but your cuts must be much more precise.
How many tiles you need may be worked out by dividing the required floor area by the area of one pack of tiles.
Length of room multiplied by width of room = The number of square metres
Square metres divided by pack coverage = How much you need
Its always best to add 10% for cutting waste.
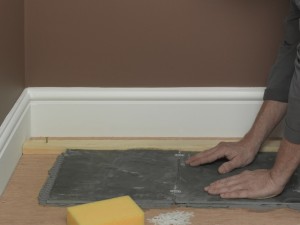
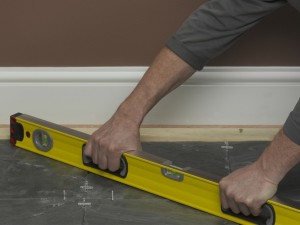
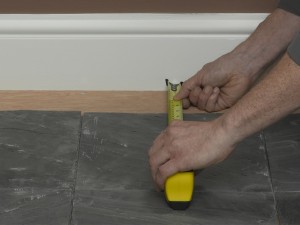
Your chosen starting point is important to establish a balanced design that allows for manageable cuts. If possible, make sure that you don’t have to cut small slivers on any wall edge of the design. A starting point square to one wall is important. If you dry lay a row of tiles close to one wall, you can then measure across to the opposite wall to check what size of cut tiles this position will leave (remember to allow for grout joints). You can then adjust the dry laid row until a good balance is achieved. Check at the end of the row, as this will help to square up your starting position relative to the walls – see my guide ‘Where to start tiling a floor’ for more information.
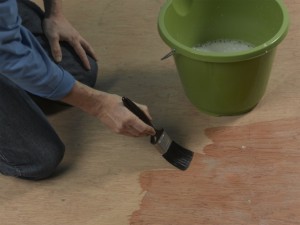 | 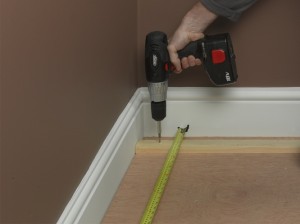 |
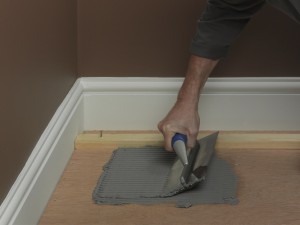 | 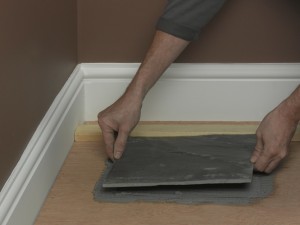 |
 |  |
 |  |
 |  |
 |  |
 |  |
 |  |
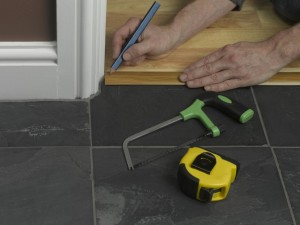 | 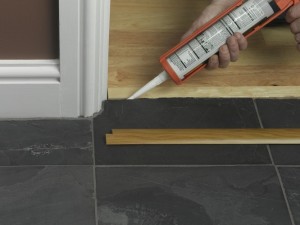 |
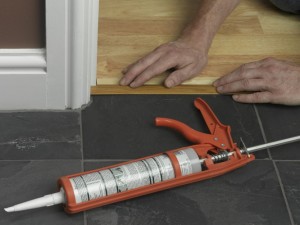 | 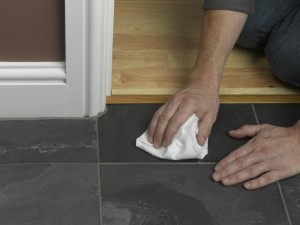 |
Floor tiling tips
- There are alternatives to the grid design shown here. You can stagger joins to create a brick bond design, or consider going diagonally across the room for a diamond effect pattern. Whichever design you choose, the tiles are laid in the same way – just adjust the start position accordingly.
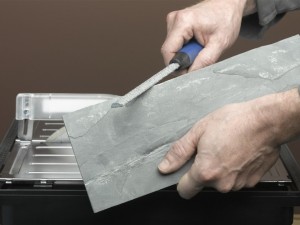
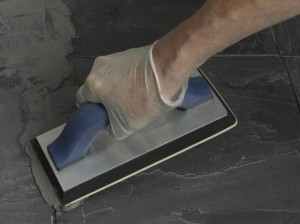
- Choose adhesive and grout according to whether you are using ceramic tiles or porcelain tiles, or natural tiles such as slate.
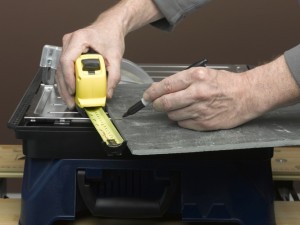
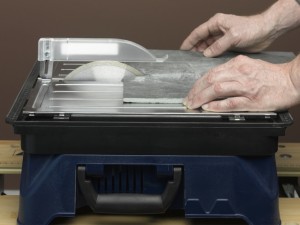
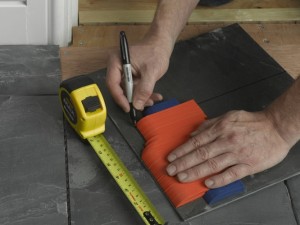
- Some thicker tiles and natural tiles such as slate are difficult to cut with a hand-operated tile cutter. Thinner ceramic tiles are normally easier to cut – an electric tile cutter will deal with all options.
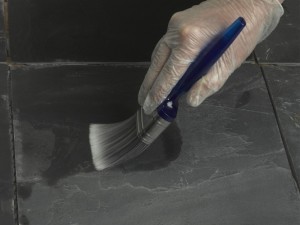
- Sealers are needed for many natural tiles. Be sure to apply this before grouting, or the grout may get into the tiled surface and stain it. Note that adhesive may also stain, so take care to keep it off the tile surface when laying.
- Make sure that you choose your adhesive according to tile type and floor type i.e. if you choose porcelain tiles – the adhesive must say it is suitable for porcelain tiles! Also if you are tiling on a wooden subfloor, the adhesive and grout must be flexible. A further consideration is that it is always best to stick with one manufacturer for all your materials. For example, if you are using the Wickes adhesives, use Wickes admixture for priming the floor rather than a PVA. If you choose another manufacturer, then go with their overall system. Topps Tiles use BAL adhesives (excellent quality) and therefore if you choose this option, then use their adhesives, primers etc.
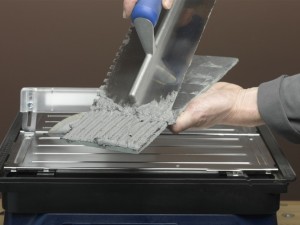
- Although the sequence above shows tiles being applied directly to a bed of adhesive, you can also apply further adhesive to the back of the tiles (back-buttering) before you lay them. This does use more adhesive, but is good practice, especially if your tiles are particularly uneven on the back. With all floor tiling the aim is to get a good solid bed of adhesive between tile and floor, and back buttering is certainly a ‘belt and braces’ option.
- If you require a tile sealer, always go with the tile manufacturer’s recommendations.
- For more information on the best tile cutter to buy, please checking out my guide – ‘Buying tile cutters’.