Fitting a basin and taps
The following sequence shows a typical order of work for fitting a basin and taps. Changing an old basin for a new one is a straightforward process as long as you are easily able to isolate hot and cold water supplies, and the existing supply and waste pipes connected to the basin do not need too much adjustment in their position. Remember to take care when fixing into walls and floors – using a cable, pipe and stud detector can help in finding safe fixing positions. The instructions below show fitting a basin and pedestal. A basin may only be wall-mounted (with no pedestal support) if it has the appropriate fixing holes, and is supplied with the correct fixings recommended by the manufacturer – see my guide – ‘Fitting a wall mounted basin‘.
When removing the old basin, a good basic order of work is:-
- Turn off the water supply at the shut-off valves. Run taps until they run dry.
- Disconnect taps at connection.
- Disconnect waste pipes.
- Unscrew wall fixings.
- Lift off basin.
- Remove pedestal – it will probably need unscrewing at its base.
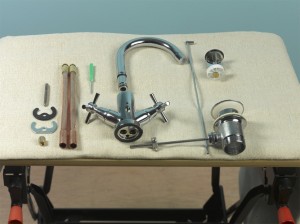 |
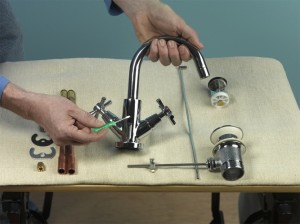 |
| 1. When you have unpacked the kit, check that you have all the tap and waste parts before starting to assemble the basin. | 2. Assemble the taps as required and directed by the manufacturer. This may mean fitting the handles or, as shown in this example, the spout. |
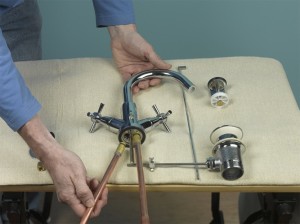 |
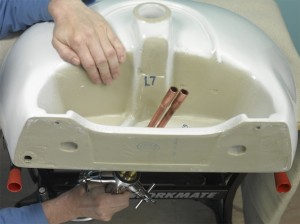 |
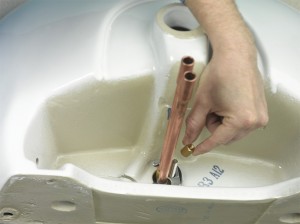
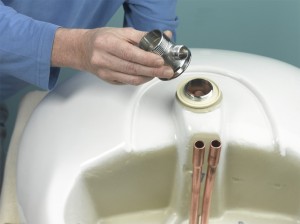
| 3. Fit the short threaded bar into the underside of the tap. It is only necessary to hand tighten this. Screw in copper supply pipes either side. | 4. Ensure the washer is in place on the base of the tap body. Thread the copper pipes and tap assembly through the hole at the back of the basin. |
 |
 |
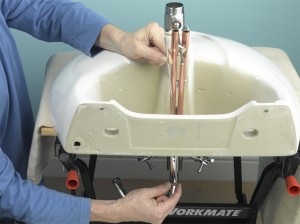
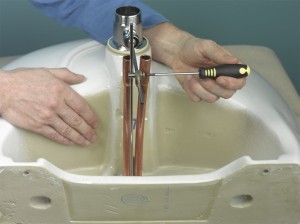
| 5. Push the metal and rubber washer onto the threaded bar. Tighten to the underside of the basin by doing up the retaining nut. | 6. Screw the waste system in place at the bottom of the basin, again, taking care not to overtighten the unit. Check washer positions carefully. |
 |
 |
| 7. As this tap has a pop-up waste, thread the long bar through the hole at the back of the tap, down through to the basin underside. | 8. Connect the long bar with the shorter bar that joins the actual trap section of the waste, using the small hinge block. |
 |
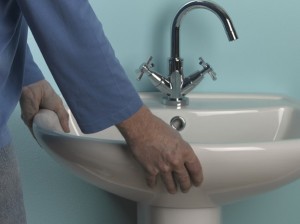 |
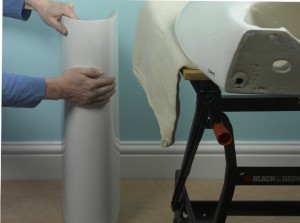
| 9. Place the new pedestal for the basin approximately in position, in front of the supply and waste pipes. | 10. Lift the new basin into place and gently rest it on top of the pedestal. You will need a helper for this. |
 |
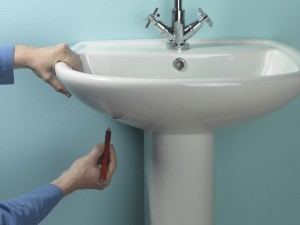 |
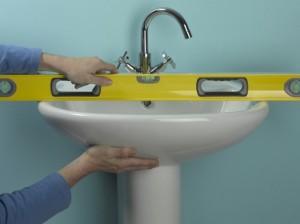
| 11. Adjust the pedestal and basin to ensure that the basin is level and sits comfortably. Be sure to use a spirit level. | 12. When happy with the position of the basin, mark through the basin fixing holes, under the basin, with a pencil. |
 |
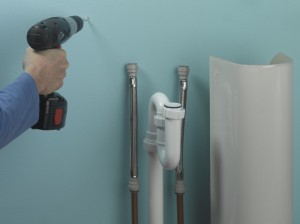 |
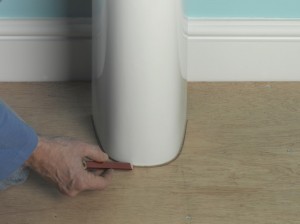
| 13. Mark through the fixing holes for the pedestal and draw a pencil guideline around its edge onto the floor. | 14. Drill fixing holes for the basin, as marked, into the wall and push in the appropriate size of wall plugs. |
 |
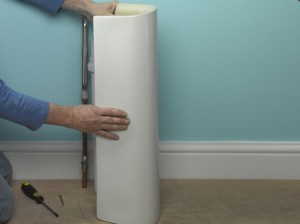 |
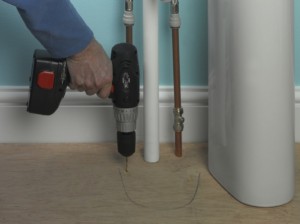
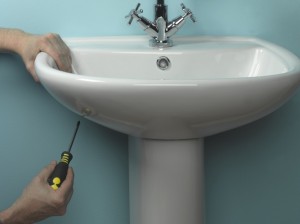
| 15. Drill pilot holes for the pedestal where marked. Here, no plugs are needed as the floor is wooden. | 16. Reposition the pedestal and screw it in place. Use any washers supplied and do not overtighten fixings. |
 |
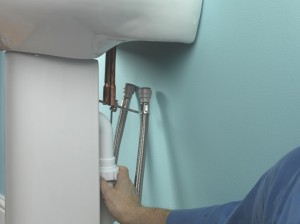 |
| 17. When the pedestal is securely positioned, reposition the basin on the pedestal and fix it in place. | 18. Connect waste pipes to the bottom of the waste system. Do not overtighten plastic compression connections. Check that the washers are correctly positioned. |
 |
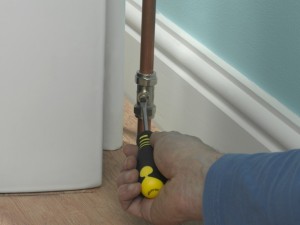 |
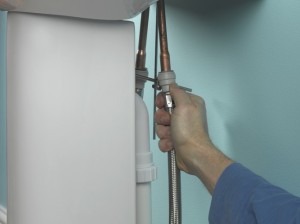
| 19. Connect the copper pipe tails to the flexible connectors. Here, a push fit joint is used. You may have ones with compression nuts to tighten. | 20. After you have reconnected all the pipes, turn the water back on and turn on the taps to test. Check for leaks on the supply as well as the waste pipes. |
Basin fitting tips
- If you are changing the floor height in your bathroom, waste pipes and supply pipes for the basin may also need to be adjusted. Flexible connectors are the simplest way of reconnecting supply pipes, especially when any small adjustments in position have been made. Waste pipes may be adjusted by cutting a new length of waste pipe and joining it to the existing pipe using push-fit joints.
- When fitting any ceramic item in place, such as a basin and pedestal, take care when tightening screws. Do not overtighten and always use a hand held screwdriver to avoid any damage that a power tool might cause.
- If you plan to alter your bathroom, always ask a qualified electrician to advise whether or not the bonding and earthing arrangements in your home need to be improved for safety reasons.
- For more information on cutting pipes, pipe fittings, and general plumbing information, please take a look at my ‘Plumbing guides’.
