Fitting a bath and taps
The sequence below shows a typical order of work for fitting a bath and taps. Changing over an old bath for a new one is a straightforward job if you are easily able to isolate the water supply, and both waste and supply pipes do not need major alterations in positioning. When ordering a new bath, make sure that the taps you choose are compatible with the number of holes in the bath. In some cases, you may need to cut the holes in the bath rim yourself. To protect the bath surface, the manufacturer will often wrap the bath in a thin plastic film. Keep this on during installation and remove once the bath is ready to use. However make sure you have peeled it back from the edges when you use silicone sealant to secure the bath in place. A comfortable height for the rim of a bath to be above floor level is around 50cm, unless otherwise directed.
When removing an old bath, a good basic order of work to follow is:-
- Gain access to taps and waste by removing any panelling.
- Turn off the water supply at the shut off valves. Run taps until they run dry.
- Disconnect taps at connection.
- Disconnect waste.
- Unscrew any wall fixings and any screws holding the bath feet in place.
- Ease the bath away from the wall surface.
 |
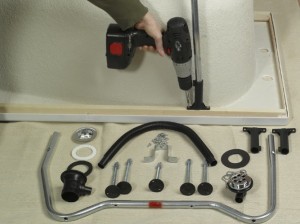 |
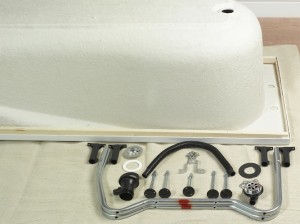
| 1. Check you have all the necessary parts for assembling the bath, including any legs (if required) as well as the taps and waste system. | 2. Follow the manufacturer’s guidelines to assemble the bath legs. This normally involves screwing the leg frames to the bath rim as directed. |
 |
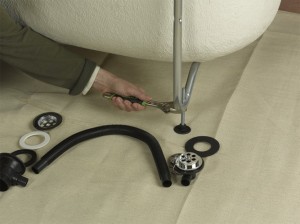 |
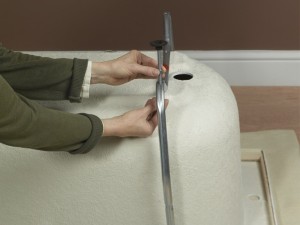
| 3. Position the feet and make sure that any central support feet are screwed into place. Always double-check the specified screw length. | 4. Turn the bath over and use a spirit level on the rim to level up approximately to the required height, adjusting leg height as required. |
 |
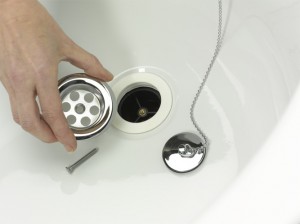 |
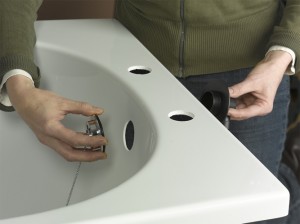
| 5. Connect up the various parts of the waste system. Firstly you will need to position and screw the overflow assembly in place, ensuring a snug fit. | 6. Put the plughole assembly together, paying particular attention to the washer positions. In some cases you may need some silicone sealant. |
 |
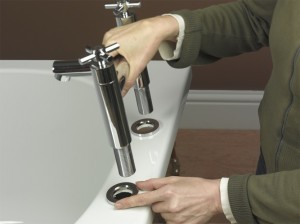 |
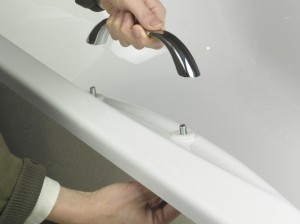
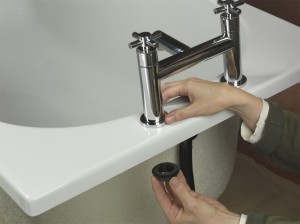
| 7. If the bath has any hand grips, follow the manufacturer’s guidelines to bolt them in place either side of the bath through the holes provided. | 8. Place the correct washers and seals on the openings on top of the bath rim a at the tap end and slide the tap ends through the holes. |
 |
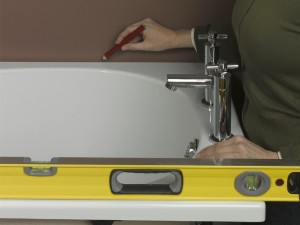 |
| 9. Tighten the nut(s) on the taps below the rim, again paying close attention to correct washer position and order of placement. Do not overtighten. | 10. Move the bath to the exact position against the wall where it will be fitted. Make sure it is level and draw a pencil guide around the rim. |
 |
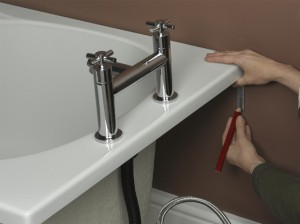 |
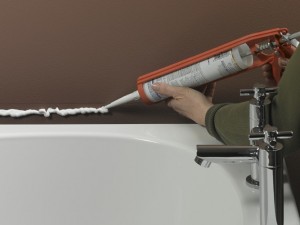
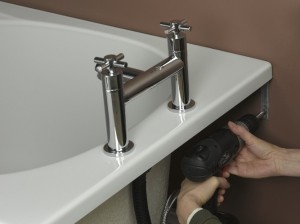
| 11. Move the bath away from the wall and apply a thick bead of silicone below the pencil line. Some manufacturers may stipulate positioning brackets too. | 12. Reposition the bath against the wall. To fit bracket(s), position as directed, marking pilot holes with a pencil. Drill holes and plug according to wall type. |
 |
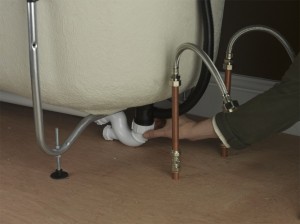 |
| 13. Check again that the bath is level before screwing the brackets in place to secure the bath against the wall. The bath should now be held firm. | 14. Connect up the waste. If you are carrying out a straight changeover, this should simply involve tightening compression fittings in place. |
 |
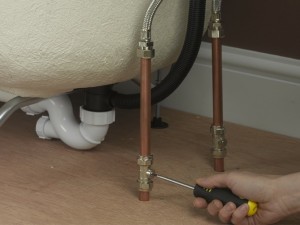 |
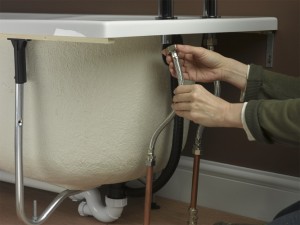
| 15. Connect taps to the water supply pipes. The most straightforward option is using flexible tap connectors. | 16. Turn on the water at the isolation valves and turn on the taps to test for leaks on both the taps and in the waste system. |
 |
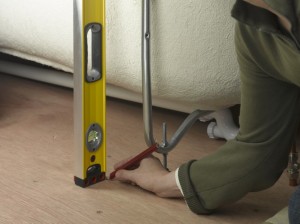 |
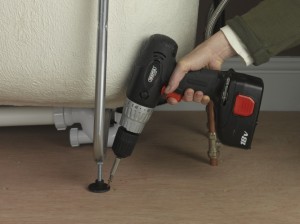
| 17. Screw the bath to the floor through the holes in the bath feet. Use short screws that won’t penetrate below the flooring, which could damage cables and pipes. | 18. To position a bath panel, use a spirit level, held vertically at each corner of the bath, to mark positions for where a wooden floor batten can be placed. |
 |
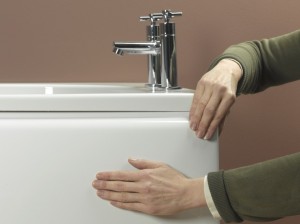 |
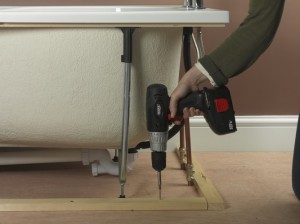
| 19. Draw a guideline slightly back (normally 1cm) from the marks, to allow for the bath rim width. Use short screws again, to fix battens in place. | 20. Slip the panel(s) in place. You may need to use small screws into the batten to hold the panel(s) secure. Mirror screws provide an ideal decorative option. |
Fitting a bath tips
- The direction of bath waste pipes can be adjusted by using new lengths of waste pipe connected with push-fit joints.
- Different types of bath trap are available if the new bath requires a lower level design for example.
- If you plan to fit a shower over the bath, get the plumbing put in when the old bath has been removed, before you do any other work. Also, choose a bath that has a flat rim, so that any fixed shower screen that you fit will be able to create a good watertight seal along the bath rim when the shower is being used.
- Remember to take care when fixing into walls and floors – using a cable, pipe and stud detector can help in finding safe fixing positions.
- If you plan to alter your bathroom, always ask a qualified electrician to advise whether or not the bonding and earthing arrangements in your home need to be improved for safety reasons.
