Fitting kitchen unit plinth
Fitting kitchen unit plinth is one of the final jobs when fitting a kitchen. Plinth prevents things rolling under units and provides a neat finish between the base of kitchen units and the floor. Manufacturers may have slightly different connection methods for the way the plinth is fixed in place, but generally, brackets are used that clip the plinth onto the legs of the units.
 |
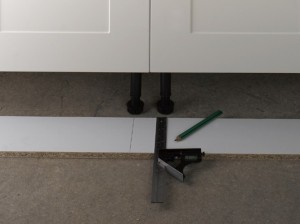
1. Lay cut lengths of plinth in front of the unit legs and mark off lines corresponding to the leg positions. A square or combination square (as shown here) is the ideal tool for drawing an accurate line. |
 |
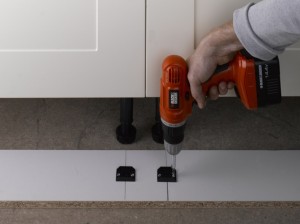
2. Fix the slotted sections of the leg brackets onto the marked off lines with the fixings provided. The brackets are normally positioned about half away along the line. |
 |
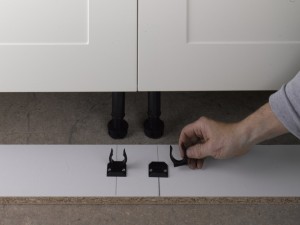
3. Slide on the other section of the bracket. Some manufacturers may provide a rubber sealing strip that is fitted along the bottom edge of the plinth. This prevents moisture penetrating the plinth edge when you mop the floor. Therefore its worthwhile fitting if one has been supplied. |
 |
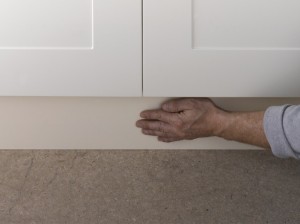
4. Once all clips have been fitted, gently press the plinth into position allowing the clips to fix onto the unit legs. The plinth should sit snugly against the floor without any gaps left. |
Things to consider when fitting kitchen plinth
- Sometimes the height of the plinth supplied will need cutting down. It is easiest to use a jigsaw to trim along the top edge of the plinth. For the best DIY jigsaw on the market, please check out my ‘Jigsaw Buying Guide’.
- Be as accurate as possible when measuring length requirements. Also take note from the manufacturer as to how corners should be measured. Strips may be supplied to cover cut ends of plinth at external corners.
