Painting a room
When painting a room, ventilation is vital, so have windows open to provide a good flow of fresh air. Before starting work, try to remove as much furniture from the room as possible. Anything that is left should be covered with dust sheets to protect from overspray, drips and dust. Surfaces should be well prepared before painting. Holes should be filled and all surfaces sanded and cleaned down. All-purpose filler can be used in walls, ceilings and wood. Alternative fillers are also widely available to meet special requirements such as wood fillers or fine surface fillers. Bare wood must be primed before further coating. For more information on surface preparation see guide – ‘Preparing ceilings, walls and woodwork‘. The sequence below shows the simplest, and best, order of work for painting a room.
 |
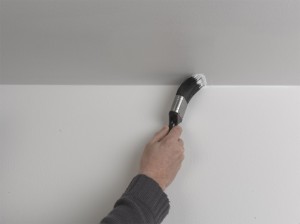 |
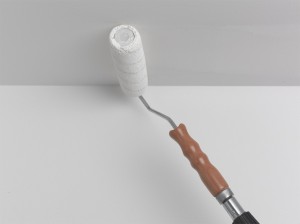
| 1. Begin by painting ceilings. A roller on an extension pole will cover large areas quickly. To avoid excessive overspray, don’t overload the roller. | 2. Finish around the edges using a medium sized brush. If you are also painting the walls, make sure you overlap onto the wall surface. |
 |
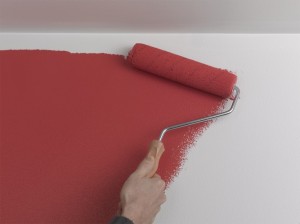 |
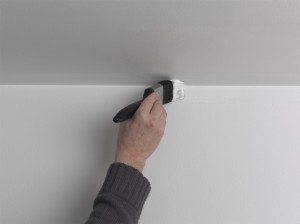
| 3. If you overlap it will make the later painting of a straight dividing line between wall colour and ceiling colour much quicker and easier. | 4. Once the ceiling is dry, use a roller to paint wall surface. Or, if you prefer, large paint pads will also cover the area quickly. |
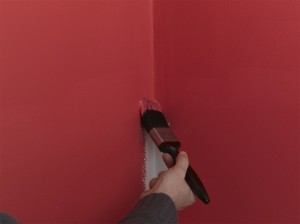 |
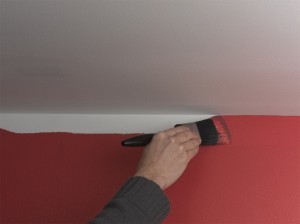 |
| 5. In the corners finish off the edges with a brush, or, if you prefer, paint pads designed for corner use may be used to similar effect. | 6. At ceiling level create a precise dividing line by using the last bristles one one edge of the brush to bead the paint smoothly into the junction. |
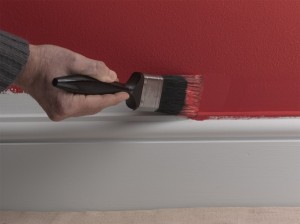 |
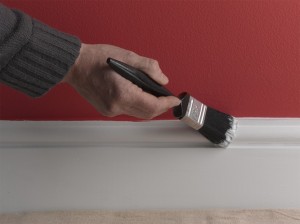 |
| 7. If you are painting adjacent to skirting boards or architrave, again, allow the paint to overlap slightly onto the woodwork. | 8. When painting the woodwork, allow the bristle edges to bead along the junction to create as straight and smooth an edge as possible. |
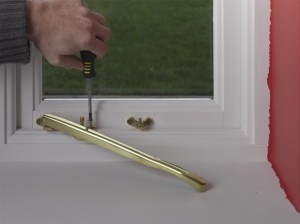 |
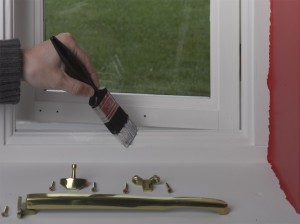 |
| 9. When painting windows, the neatest finish will be achieved by temporarily removing any window furniture before you start to paint. | 10. To prevent the windows from blowing open or closed in the wind, first paint the area where the stays and pins are situated. |
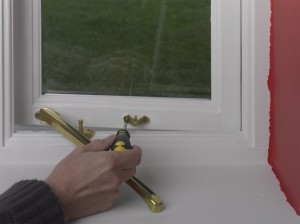 |
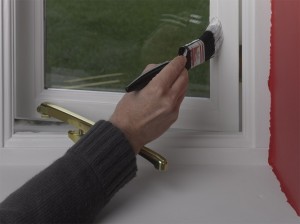 |
| 11. Carefully reattach the stays and pins on the painted area, to allow you to prop the window securely open while you paint the other parts. | 12. Continue with each section of the window in the appropriate order: generally paint openable windows first and paint from inside edges outwards. |
 |
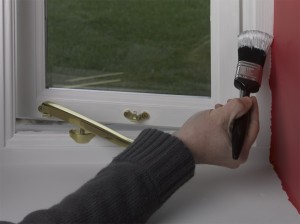 |
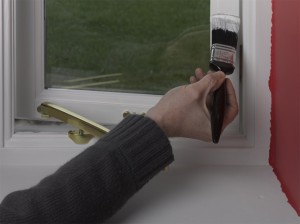
| 13. Paint edges closest to the glass first, then work out towards the frame of the window and then move on to the next section or frame. | 14. Finish the window by cutting in a neat edge around the frame where it meets with the wall surface. Once dry, reattach the remaining window furniture. |
 |
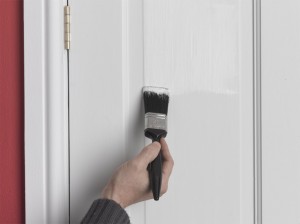 |
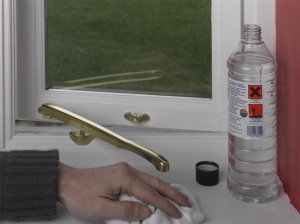
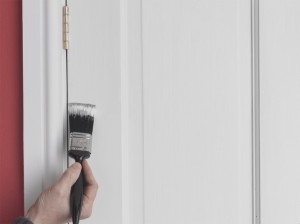
| 15. Wipe down sills to remove all dust before painting. If you use white spirit, make sure the sill is totally dry before you paint. Also, sand sills between coats with a fine grade of sandpaper. | 16. For flush doors, simply start at the top and work down. For panel doors (as shown here), begin by painting all the panel sections first. |
 |
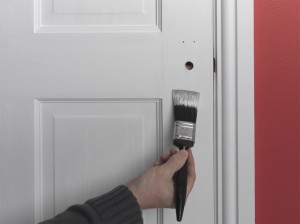 |
| 17. Continue with the central vertical members, followed by the horizontal members. Lastly, finish off with the two outer vertical members. | 18. Removing door furniture makes painting easier. Paint the edge of a door according to which room it faces when the door is open. |
 |
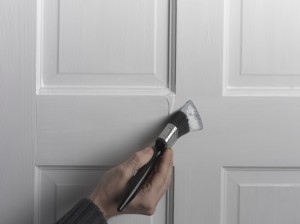 |
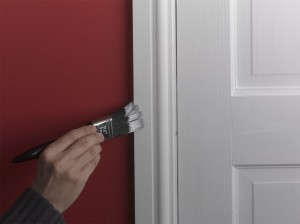
| 19. When door edges are painted, don’t close until completely dry. Paint the architrave to finish . Again, create a neat dividing line at the wall junction. | 20. Finally, return the door and inspect for drips and runs, brushing them out as required. These are commonly found at panel corners. |
Painting tips
- Emulsion paint for walls and ceilings can be applied direct to old painted surfaces, once cleaned and sanded, with two coats normally being required. For bare plaster the same applies, although a slightly thinned first coat is best practice. For bare plasterboard (drylined surfaces), you must apply a primer/sealer to the surface before coating with emulsion.
- On a ceiling/wall, it is not vital to roll first and then cut in around the edges, or cut in first and then roll. Some specifiers will insist on using a brush only! The secret of a good finish is to keep a wet edge i.e. make sure that the ‘cut in’ area is still wet when you join to the rolled area or vice versa. This is why it is best to paint one wall at a time.
- When estimating paint quantities, it is best to be guided by your chosen paint manufacturer’s guidelines.
- When stopping for a break, or even overnight, wrapping rollers or brushes in clingfilm will prevent them from drying hard. This reduces the need for repetitive cleaning of tools mid job.
- For wood, if you are finishing with gloss, first paint on a coat of undercoat, before applying the topcoat of gloss. If you are finishing with eggshell or satin on wood, simply apply two coats of the chosen finish. For much more on this, see my guide – ‘Which paint for wood?’
- Always try to start painting windows at the start of the day, so that they can be left in an open position to dry thoroughly before closing them at night, thus preventing them from sticking.
- A light sand with a fine grade of sandpaper between coats of paint will provide the best finish.
- Radiators may be painted (while off and cold) with either eggshell (for a matt finish) or undercoat and gloss for a shiny finish. Any rusty areas must be primed with a metal or all-purpose primer first. When this is dry, the finishing paint may then be applied.
