Changing a kitchen tap
Changing over a kitchen tap is straightforward as long as you have isolation valves fitted below the kitchen sink. Otherwise, you will need to isolate hot and cold taps further down the pipes. Changing a cheap tap for a more stylish or expensive one is a good option for a quick kitchen revamp – especially if you combine the work with maybe repainting the units for example.
 |
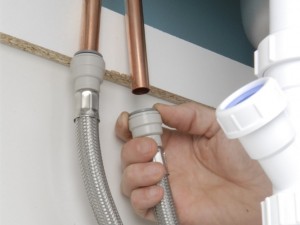
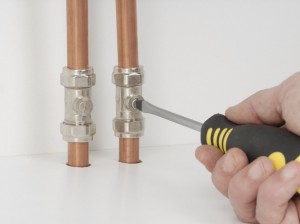
1. Turn off the water at the isolation valves. Turn on the tap to drain the remaining water from the pipes. Disconnect tap connectors – in this example push fit connectors are shown. |
 |
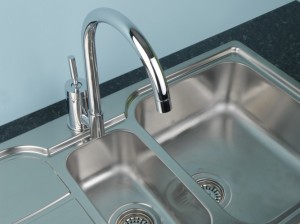
2. Undo the existing tap assembly by loosening the retaining nut under the sink. Assemble the new tap as directed, carefully following the guidelines. |
 |
3. Position the new tap and tighten in place, making sure that washers are fixed in the right order. |
 |
4. Reconnect the flexible tap connectors, as in step one, and turn the water back on at the isolation valves. Check for drips. |
Some tap fitting tips
- For some more detailed information on assembling a tap, it is worth you looking at the guides – ‘Fitting a basin and taps’ and ‘Fitting a kitchen sink and taps’.
- Take your time when assembling the tap and supply pipes as you really want to avoid cross-threading any of the connections.  Also the chrome finish on taps scratches easily, so take care when using any tools – If, for example, you need to grip the tap with adjustable spanners or a plier wrench, use a cloth at the point of contact with the tap to protect its surface.
- Access to the underside of the old taps in order to undo them, can often be tricky. You may therefore need a basin wrench which is designed precisely for this purpose.
